Meet LogoAI’s Online Photo Editor: Now with PSD Support
LogoAI’s online photo editor now supports PSD files. Explore background removal, image upscaling, SVG conversion, and cropping in a simple browser workflow.
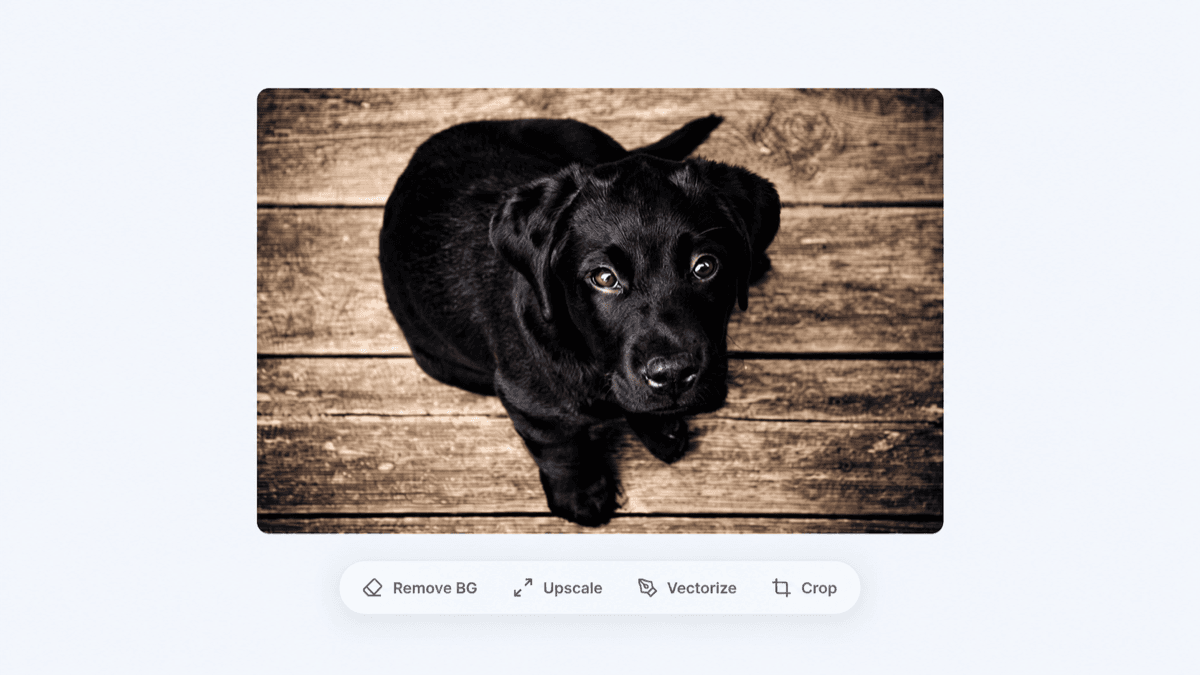
A product photo needs a cleaner background. A logo looks blurry when you enlarge it. An image has the right subject but too much empty space. These are everyday design tasks, and getting them done should be straightforward.
The new LogoAI Online Photo Editor brings practical image editing into your browser—and now supports PSD files, alongside PNG, JPG, and WebP. Start with the image you already have, then crop it, remove its background, improve its resolution, or turn suitable artwork into a scalable SVG.
Here’s how the editor and its connected tools can help you prepare images for your website, social posts, and brand materials.
Start with your image—including a PSD
Open the photo editor and choose a file, drag it onto the upload area, or paste an image. The upload screen lists PSD, PNG, JPG, and WebP support, giving you more flexibility when starting from existing creative files.
The addition of PSD support is especially useful when your source artwork arrives in Photoshop’s document format. You can bring that file into the editor as the starting point for your image workflow.
Keep the original source file and check the imported appearance before making changes. For any design handoff, it helps to compare the image against an approved reference, particularly around lettering, transparency, and fine details.
Remove the background for a cleaner result
A useful product shot can still have a distracting background. Removing it lets you focus attention on the subject and place the image into a new layout more easily.
LogoAI’s Transparent PNG Maker removes backgrounds from images and provides a transparent PNG download. It is useful for product cutouts, portraits, and logos that need to sit on different backgrounds.
Imagine preparing a sneaker photo for a launch graphic. A cutout gives you the freedom to place the shoe against a brand color, arrange it beside a headline, or reuse it in another composition. For a logo, transparency removes the unwanted rectangular backdrop that can clash with your website or presentation.
After processing, inspect the outline on both light and dark backgrounds. Hair, laces, fur, and delicate edges deserve a closer look. Choose a PNG when you need to preserve the transparent background in the downloaded image.
Upscale small images for larger placements
An image that looks fine as a thumbnail may appear soft when used in a larger layout. LogoAI’s AI Image Upscaler enlarges images and enhances detail, helping you prepare a higher-resolution version of a photo or graphic.
Use this when the available image is smaller than your intended placement, such as a product picture that needs to fill a website section or an older promotional image you want to reuse.
Start with the best source available and compare the result at the size you actually plan to display. Pay attention to faces, lettering, textures, and product details. AI enhancement can reinterpret detail, so review the result before using it as an accurate representation of a product.
Upscaling and cropping solve different problems: upscale when you need more resolution; crop when you need a better composition.
Convert logos and graphics into SVG
If your logo exists only as a small raster image, making it larger can reveal its pixels. The LogoAI Image Vectorizer converts artwork into full-color SVG paths, giving you a scalable version to use across different sizes.
This is particularly useful for graphics with clear shapes, such as logos, icons, and simple illustrations. A vector version can make it easier to prepare the same artwork for a small web placement and a larger display.
Think of vectorization as recreating the image’s shapes. It does more than change the filename, and the result should be checked against the original. Inspect curves, small lettering, gaps, and color boundaries before adopting the SVG as your master artwork.
For photographs with complex lighting and textures, an enhanced raster image may be the better choice. Match the tool to the artwork and the intended result.
Crop images to put the subject first
Sometimes the simplest edit makes the biggest difference. Cropping in the online editor lets you remove unnecessary edges and improve the balance of an image.
For a product listing, bring attention to the item while leaving enough space around it. For a portrait, keep the framing intentional. For a blog image, leave breathing room so the subject does not feel squeezed against the edges.
Decide where the image will appear before choosing the crop. A wide website image and a square profile picture have different needs. Preserve important details, and avoid cutting so tightly that a later layout change becomes difficult.
A practical workflow for your next project
Choose the steps that match your image rather than applying every tool automatically:
- Open the source. Start in the photo editor with a supported image or PSD file.
- Set the composition. Crop away distractions while keeping room around the subject.
- Prepare the background. Create a transparent cutout if the subject needs to move into another layout.
- Choose the right format. Upscale a small photo or vectorize suitable logo artwork according to your needs.
- Review the final asset. Check edges, text, colors, and detail at its intended display size.
Once your logo is ready, our guide to generating logo variations from your base logo explains how to build color and layout versions for different placements.
Give your existing images a new purpose
You do not always need to start a design from scratch. A clearer product cutout, a sharper image, a scalable logo, or a better crop can make an existing asset much more useful.
Try LogoAI’s Online Photo Editor with your next image or PSD file, and choose the tools that help it fit the job.
Ready to create your own logo?
Turn your brand name into professional logo concepts in seconds with LogoAI.
Generate my logo