How to Turn a Drawing Into a Logo: A Step-by-Step Workflow
A logo AI can turn a rough concept sketch into logo directions—no polished lines or manual tracing needed. Trace the drawing only when its original lines must stay exact.
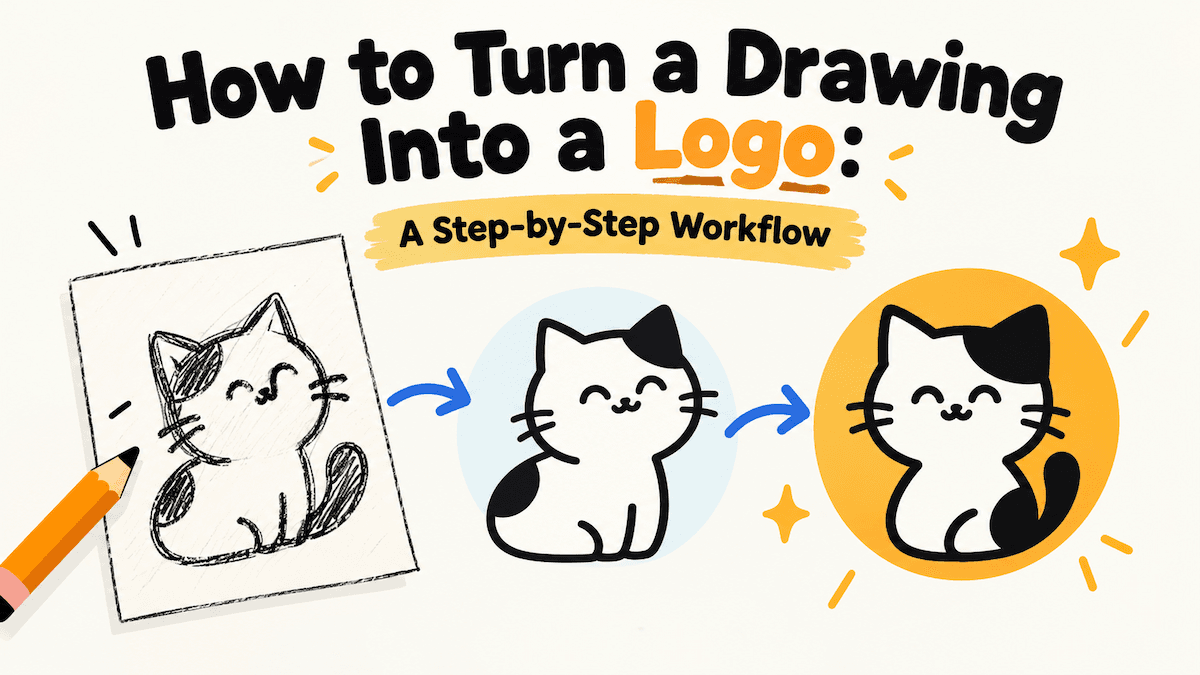
To turn a drawing into a logo, decide whether you need to preserve its exact lines or only carry the idea forward. If the drawing is a rough concept, AI can turn it into logo directions without polished linework. If the original shape or lettering must stay exact, trace or redraw it as vector artwork.
How do you turn a drawing into a logo?
Start with a photo or scan where the main idea is easy to see. The sketch can be rough; it does not need polished outlines or fine details. If the page has several ideas, crop the one you want to develop. Next, decide how closely the final logo must match the drawing:
- Use LogoAI when the sketch only needs to communicate the subject or concept. LogoAI can interpret a rough drawing and create logo directions.
- Trace or redraw it when the original lettering, outline, or geometry must remain recognizable.
- Combine both approaches when one part needs to stay exact but the rest can be developed into a new design.
Keep the original sketch nearby as you review the result. The right method is the one that preserves what matters for your logo.
What can AI do with a rough concept sketch?
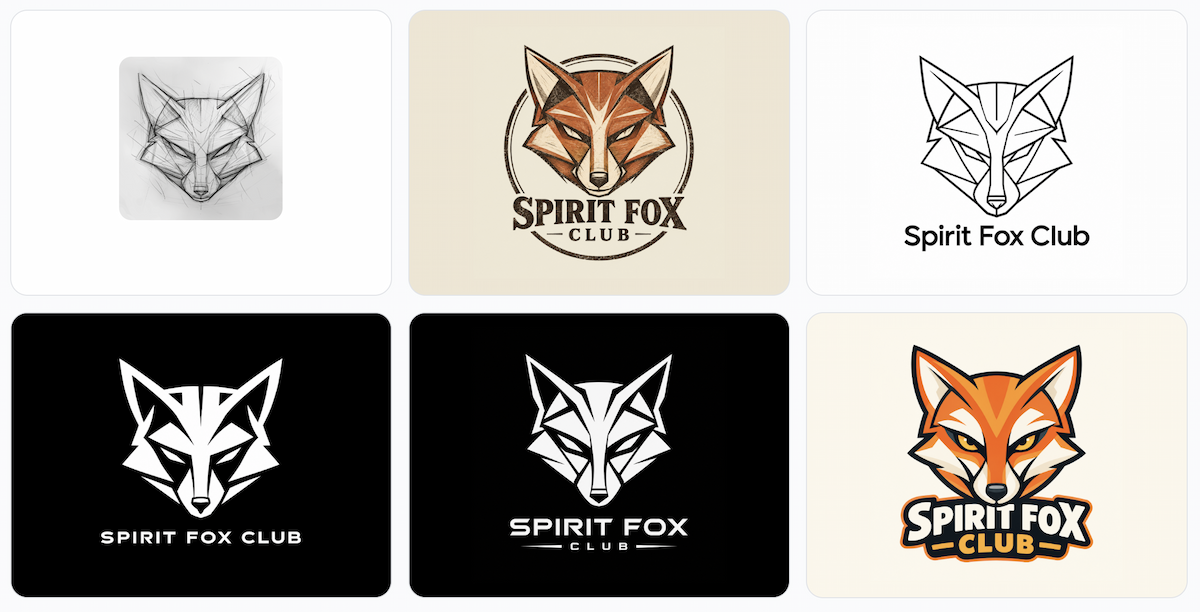
Use LogoAI when your drawing is a rough concept, not finished artwork. A simple sketch that shows the subject or idea is enough; it does not need polished lines, precise proportions, or fine details. Upload it to the current image-to-logo workflow. LogoAI recognizes the concept and automatically turns it into logo directions, so you can explore the idea without manually tracing the sketch. Choose the direction that best expresses what you had in mind.
When is tracing or redrawing the sketch a better choice?
If exact lettering, an outline, or proportions must match the sketch, AI may change too much. Use a vector editor’s image-trace tool, then clean up the paths; an automatic trace can still need manual refinement. Adobe’s Image Trace guide explains the process.
How can you check whether the finished logo works?
Run three quick checks on the finished direction:
- Small-size check: Preview the mark around 32 pixels wide. Can you still recognize its main idea?
- One-color check: View it in black on white. Do the important shapes remain clear without color?
- Concept check: Does the logo still communicate the idea you started with?
If the mark fails at small size, simplify fine details. If it no longer communicates the concept, choose another AI direction or clarify the starting idea. If the original drawing itself must be preserved, use tracing or redraw the key shape.
Which file format do you need for the finished logo?
Choose a format based on where the logo will be used. A transparent PNG works over different backgrounds, SVG is useful when you need scalable vector artwork, JPG suits a logo on a solid background, and PDF is common when a printer requests a print-ready file. Check the printer or platform’s specifications before sending anything. If you made the logo with LogoAI’s image-to-logo workflow, its Download flow continues into a Brand Kit. There, the main logo has JPG, PDF, high-resolution PNG, and SVG options, alongside transparent, single-color, and white-on-color variants. This walkthrough of a Brand Kit built from an existing logo shows how the file variations fit with the rest of the brand assets. High-resolution and SVG conversions may use credits. The practical rule is simple: use AI when a rough sketch is enough to explain your idea; trace when the original geometry must survive.
Ready to create your own logo?
Turn your brand name into professional logo concepts in seconds with LogoAI.
Generate my logo